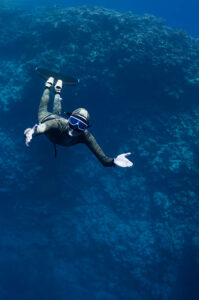
Scuba equipment assembly and maintenance are a basic, key factor in scuba diving. If you are a newcomer or an experienced diver, proper assembling of your gear and learning how to maintain it right after each dive not only provides an enhanced diving experience but also extends the life of your equipment.
In this article, we see how to assemble your scuba equipment, the necessity of a pre-dive check, and how to perform well after-dive maintenance on your equipment.
Assembling Your Scuba Gear: Step-by-Step Guide
Your scuba gear should be correctly assembled because all parts should be working right when in the water. Here is an easy step-by-step guide that will help you get it just right.
1. Prepare Your Work Area
First of all, clean and dry the working area, leaving space for laying out the gear. The better the area is prepared, the less the chance that you will misplace some piece of equipment or damage something accidentally.
2. Assembling the Tank and Regulator
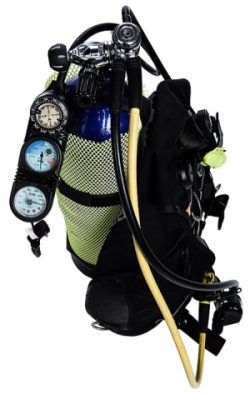
The scuba tank and regulator are two of the important pieces of your dive setup and should be assembled with care.
Attach the Regulator First-Stage to the Tank: Place the tank on any flat surface with the valve facing you. Take the first stage of the regulator and place it over the tank valve while making sure the dust cap is removed. Now, yoke-style regulators need to have the first-stage yoke aligned with the tank valve and screw in for DIN regulators.
Hand-Tighten the Yoke or DIN Fitting Reach through and, using your hand only, tighten the yoke screw or DIN fitting. Be careful that you do not overtighten at this stage. It only needs to be tightened enough to make a seal when the tank is pressurized.
3. Attaching the BCD to the Tank
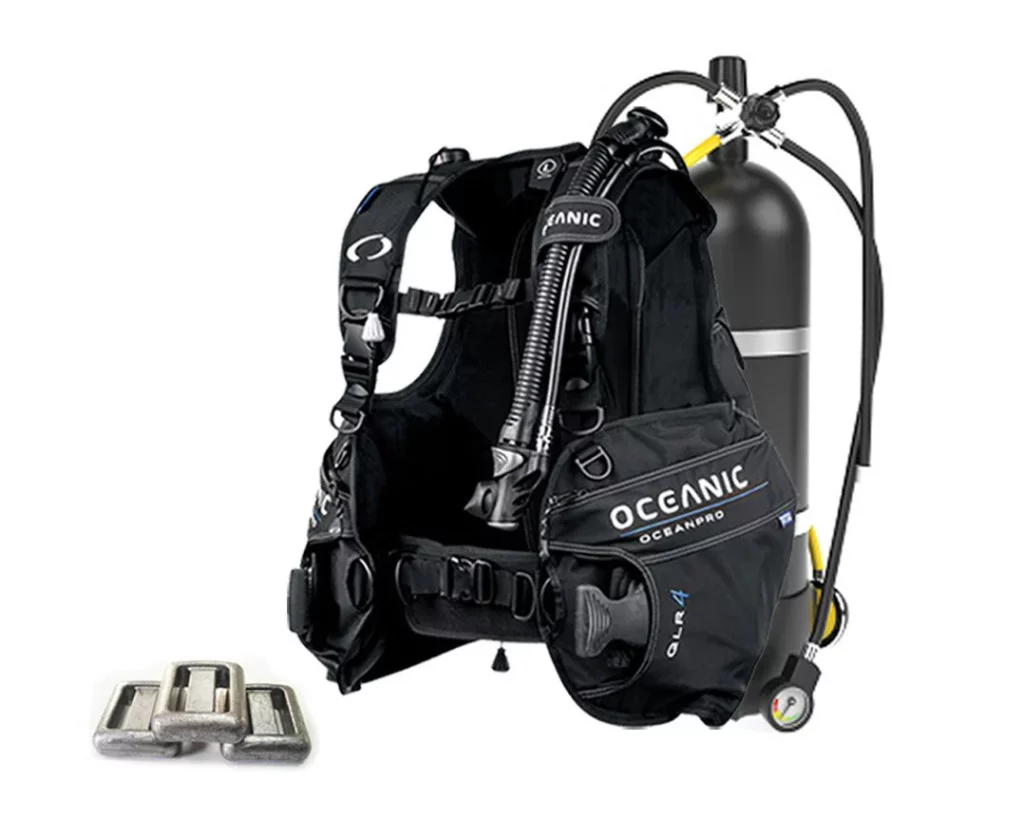
The most central part of your gear is that controlling your buoyancy and holding your tank in place with a buoyancy compensator device (BCD).
- Slide the BCD Strap Over the Tank: Release the BCD strap by continuous pulling and then slide it over the top of the tank. Ensure that the strap sits just below the tank valve. Position the BCD comfortably, not slipping.
- Tighten the Strap: Pull tightly the BCD strap to be secure around the tank. Check again so that it doesn’t slip when you lift the tank and BCD together.
4. Connecting Low-Pressure Inflator Hose to BCD
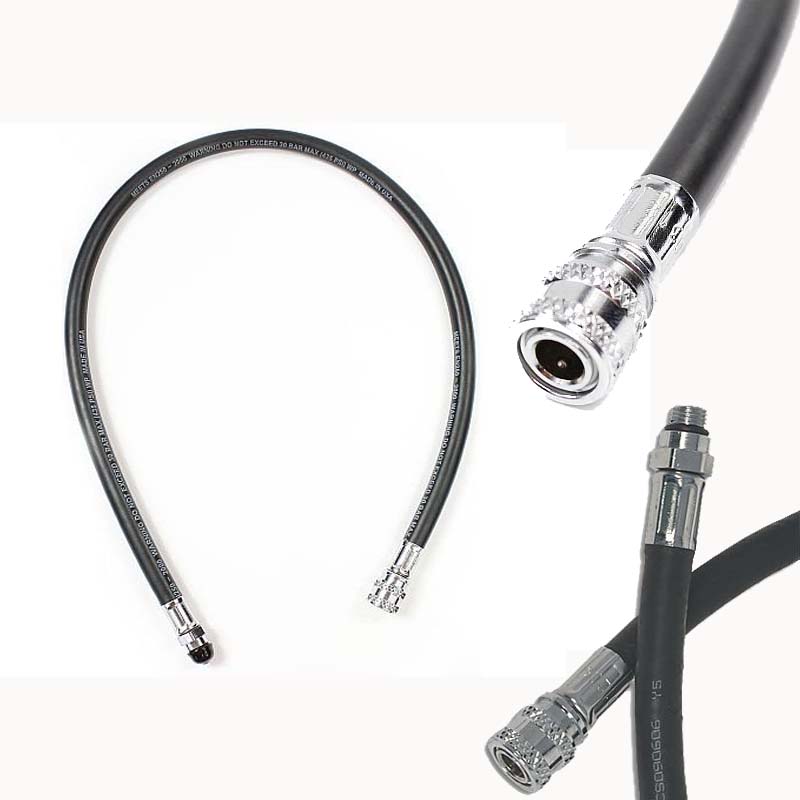
The low-pressure inflator hose will connect your regulator to your BCD and provide a method of inflating and deflating the BCD during your dive.
Inflate Connection: Locate on your BCD the inflator hose and attach it to the low-pressure port on the first stage of your regulator. Press the quick-release mechanism until you hear a click.
5. Assembling Your Dive Computer and Gauges
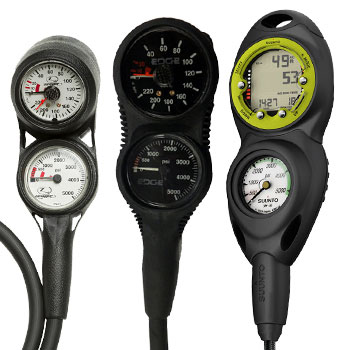
Your dive computer and gauges-depth, pressure, and compass offer critical information relative to your dive. They must be attached in such a way they do not interfere but are still readily accessible.
- Secure the Gauges: Attach your gauges or dive computer to the proper ports in the first stage. Place the pressure gauge in a position that allows you to monitor the air supply of your tank.
- Dive Computer Check: First, turn your dive computer on to make sure that it’s operating and will last for the duration of the dive.
6. Attaching Your Fins, Mask, and Snorkel
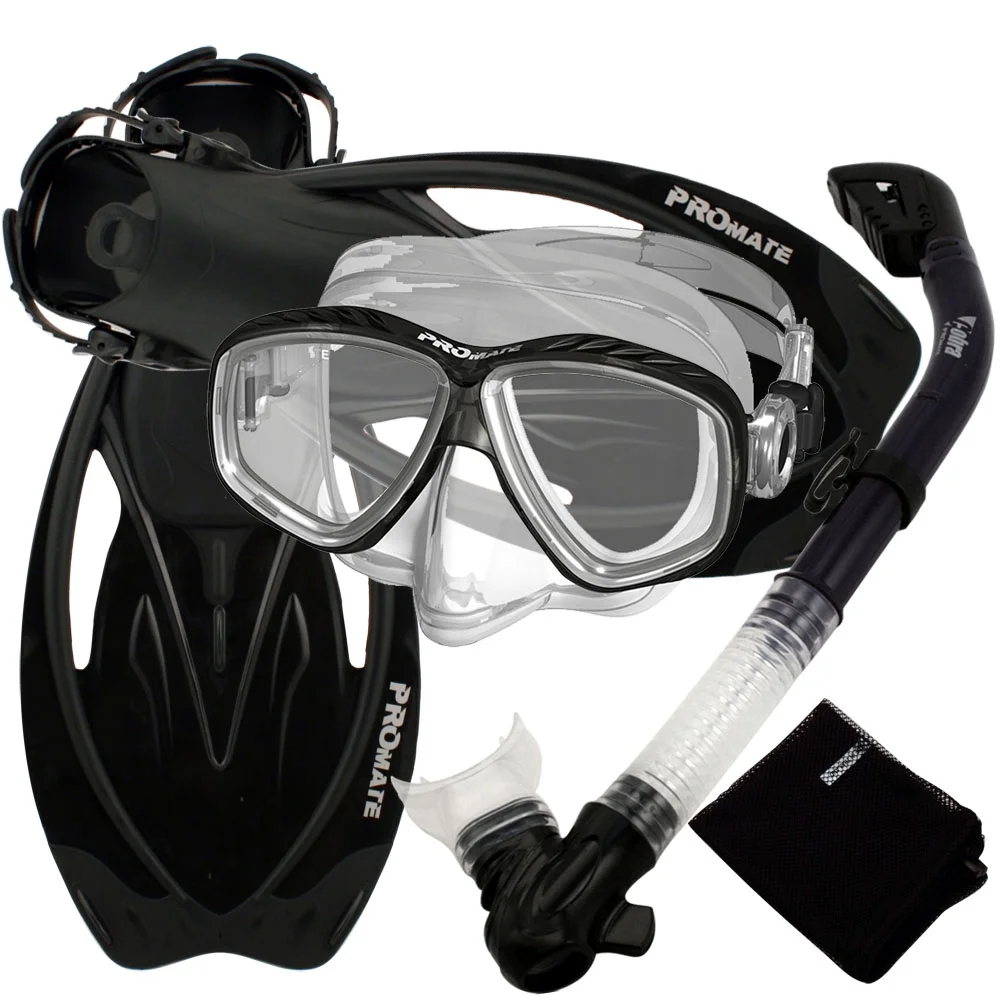
While your fins, mask, and snorkel are not attached to your tank, they must be pre-checked and ready to go prior to entering the water.
- Mask and Snorkel: The snorkel must be comfortably mounted to the mask strap. The mask must be able to fit to your face such that there is a seal without leakage.
- Fins: Fins must appropriately fit and be in good condition. The pockets and blades of the fin must be free from any cracks.
Pre-Dive Equipment Check
In this regard, once your equipment is set up, the next thing to do will be a pre-dive check that everything works as it should. Proper checking of equipment is an important aspect in trying to avoid problems that might otherwise have taken place underwater.
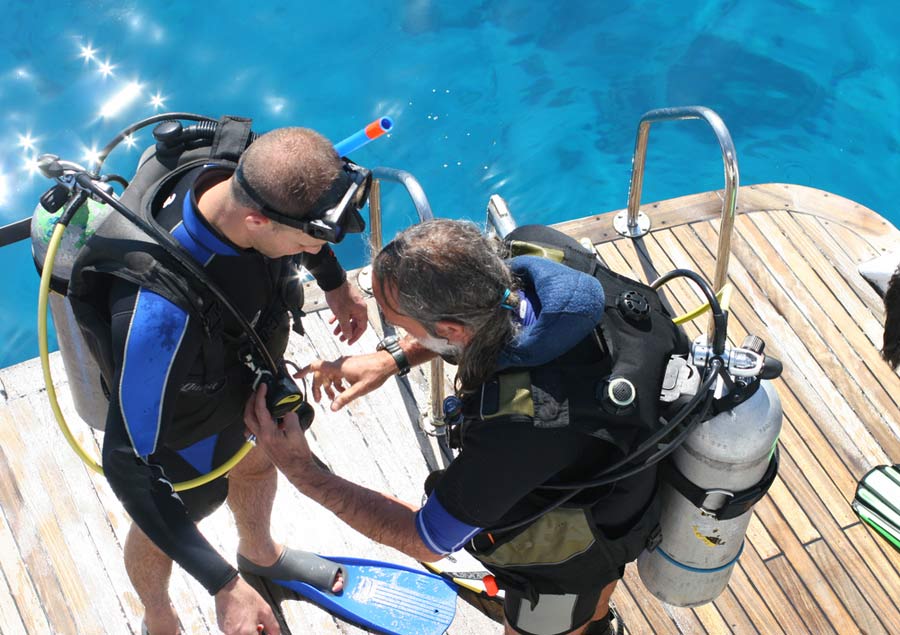
1. Turn on the Air
Master the tank slowly, opening the valve and allowing air into the system. Listen for hissing sounds since this may be a sign that there was some sort of leak in the connection.
- Check Air Pressure: Take a look at your pressure gauge to make sure the tank is full (the normal range for a full tank is between 2,000 and 3,000 PSI depending on the size of the tank).
- Breathe from Regulator: Immediately take a few breaths from your primary second stage and from your alternate air source (octopus) just to make sure both deliver air and do so without obstruction.
2. Check BCD
Inflate your BCD full and hold for a few seconds to check that it holds air. Full deflation ensures the release valves are functioning. The oral inflator must be tested also for backup.
3. Check the Dive Computer and Gauges
Check that your dive computer is working, giving the correct depth and pressure. Check that all the gauge readings are in the normal range.
4. Inspect the Mask and Fins
Check your mask and fins for any damage. Check the mask seal by placing it on your face and inhaling it through your nose without using the strap.
Post-Dive Maintenance: Keeping Your Gear in Top Condition
Good maintenance after a dive is important to extend the life of your gear and make sure it will function properly during your next dive. This is how you maintain your gear after diving.
1. Rinse Your Gear with Freshwater
Saltwater and chlorine have the potential to corrode scuba gear, so it is very important to rinse them off properly. After each dive, you will want to thoroughly rinse your gear with fresh water.
- Regulator: the regulator and first stage should be rinsed while the dust cap is tightly in place. Don’t push the purge button while it’s being rinsed so that water does not come into the system.
- BCD: Freshwater rinse the exterior of your BCD and then flush freshwater through the inflator hose will wash out salt water and dirt from the inside of your BCD.
- Fins, Mask, and Snorkel: Rinse the mask, snorkel, and fins in fresh water to remove all salt and sand. Allow it to completely air dry before storing.
2. Dry Your Gear Completely
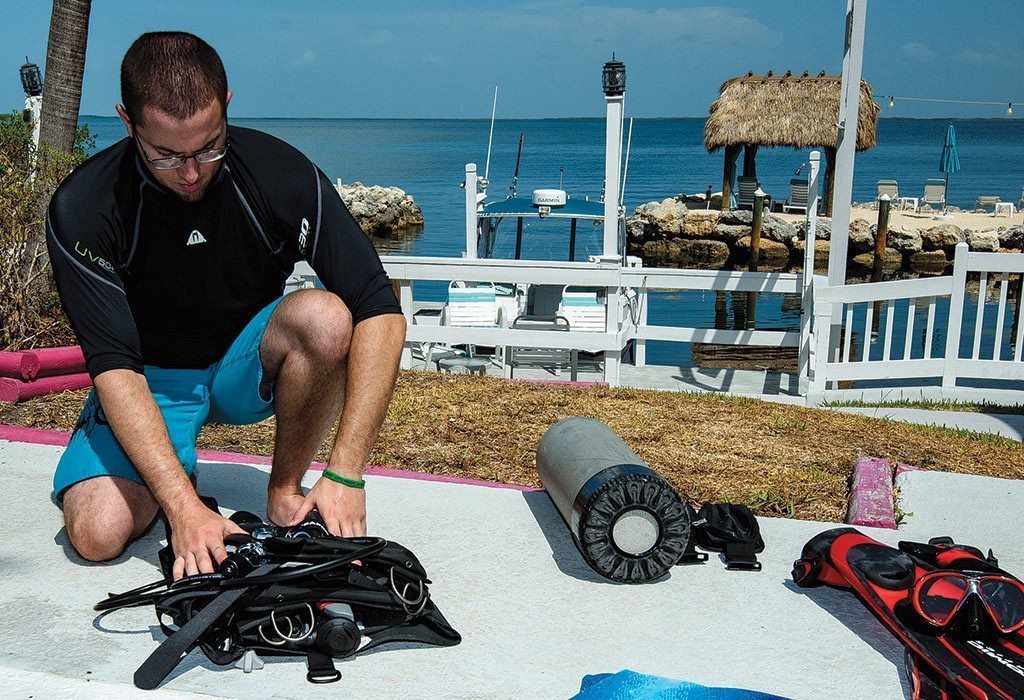
Allow your equipment to air dry out of direct sunlight in a well-ventilated area. Direct sun causes colors to fade and may damage certain materials. Let your BCD, wetsuit, and other soft gear air dry completely before storing it to prevent mold or mildew.
3. Inspect for Damage
After rinsing and drying your equipment, inspect everything for wear and tear or even damage. Check for hoses with any cracks, leaks in your BCD, or worn-out seals in the mask.
4. Store Gear Properly
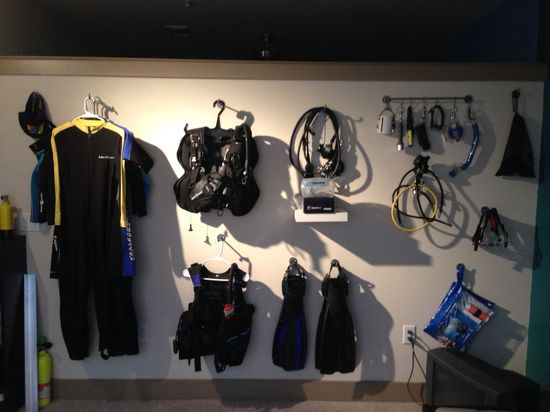
Keep all your equipment in a cool, dry place. Your regulator should be stored in its case, while the BCD and wetsuit should be hung on a wide hanger to prevent creases from setting in.
5. Schedule Regular Servicing
Even with good post-dive maintenance on your part, your gear requires periodic servicing by a professional. Regulators, BCDs, and dive computers are serviced annually or according to the manufacturer’s recommendations, they will remain in top condition.
A major part of dive preparation is the proper assembly and maintenance of scuba gear. When you know how to put together your equipment, do proper pre-dive checks, and be on a regular maintenance routine after each dive, your gear will last and most importantly safety underwater will be guaranteed. With well-maintained gear, every dive is bound to get more and more pleasurable and safe.