How to Do an Out-of-Air Drill: A Step-by-Step Approach
Scuba diving is an essentially very safe and enjoyable sport when done with proper protocols, but there can still be emergencies. One of the most critical situations that one should prepare for is running out of air. Being practice-drilled well enough in out-of-air drills may be the difference between an uneventful, controlled ascent and one of panic. This guide will walk you through the essential steps in performing an out-of-air drill to ensure that you are prepared and able to respond calmly and effectively during a situation.
Understand the Situation of Being Out of Air
The steps for an out-of-air drill first require an understanding of the possible causes of an out-of-air situation:
- Running out of air by not properly keeping track of your air gauge.
- Regulator malfunction, where your primary regulator stops delivering air.
- Obstructed airway, caused by a blocked or kinked hose.
These scenarios will more effectively prepare you to recognize an out-of-air emergency and to make an appropriate response.
2. Communicate Clearly
An out-of-air scenario is a time when it is important to clearly communicate with your dive buddy. In conducting the drill, use these steps for communication:
Hand Signals:
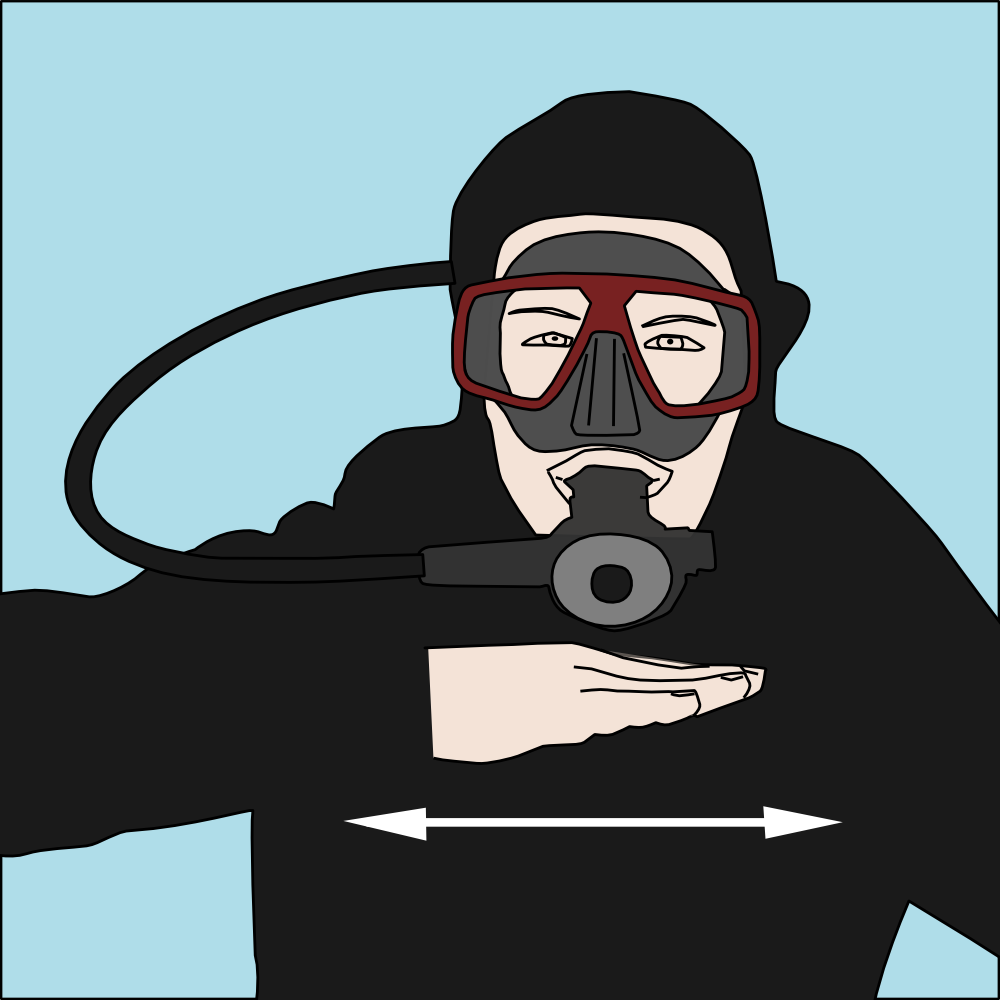
- Out-of-Air Signal: Using your open hand, draw it horizontally across your throat. This is a universal standard signal that indicates you are out of air.
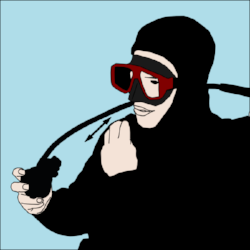
- Request Air Signal: Point to your buddy’s alternate air source or use the “share air” signal by moving your hand from your mouth toward your buddy’s regulator.
3. Locate and Secure the Alternate Air Source
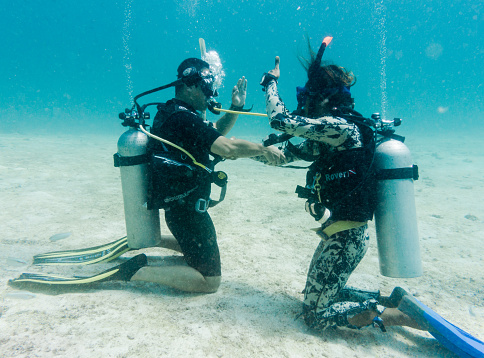
Next will be to get an alternate air source. Your buddy should immediately offer his or her alternate air source, known as an octopus or secondary regulator. This is how one does it:
Steps:
1. Buddy Offers the Octopus: Unclip your octopus and hold it out to the other diver with the mouthpiece on the end facing the proper direction.
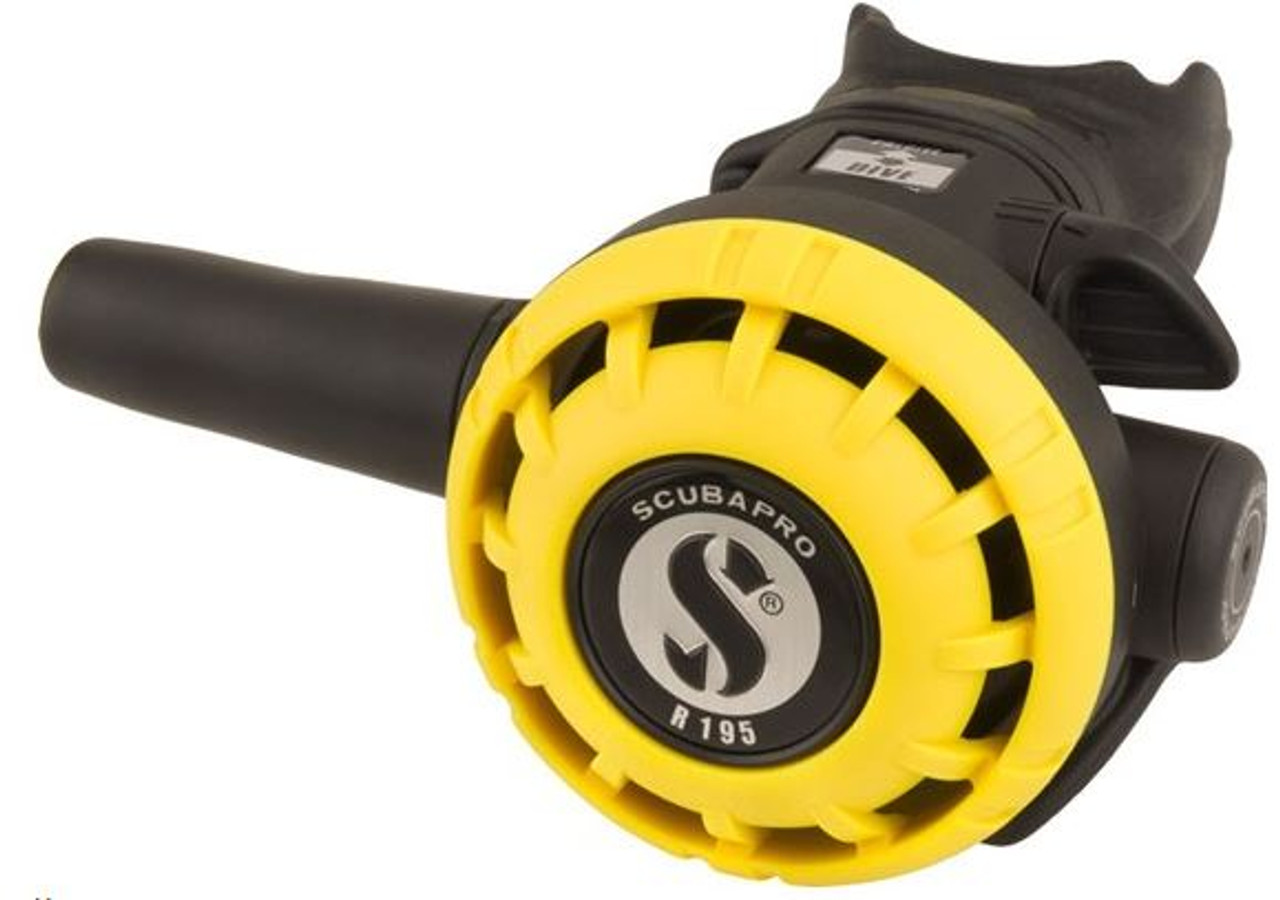
2. Take the Octopus: Raise the regulator and place the mouthpiece into your mouth, blow hard to purge any water.
3. Breathe Normally: Begin to breathe slowly and steadily from the octopus, signaling your buddy that you are now receiving air.
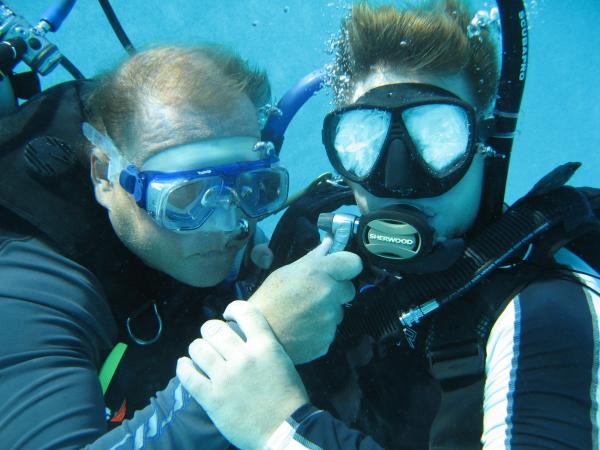
4. Secure Your Position
After you’re breathing from the alternate air source, you need to secure your position so as to keep control during the ascent:
Positioning Tips:
- Keep the Octopus Close to Your Body: Allow your buddy to receive the air with his octopus but do not let him be pulled by the fish in an upward direction.
- Hold the Buddy: You may, at this point hold your buddy’s arm or BCD or even the tank valve to stay connected.
5. Make the Controlled Ascent
After both divers are now breathing from the same source of air, begin a controlled ascent to the surface. Do this by following these steps:
Ascent Technique:
1. Signal Ascent: Give the universal “thumbs up” signal to indicate that you are ready to ascend.

2. Ascend Slowly: Begin a slow, controlled ascent at a rate not to exceed 30 feet per minute. Monitor with your dive computer or depth gauge to make sure you are indeed ascending at a safe rate.
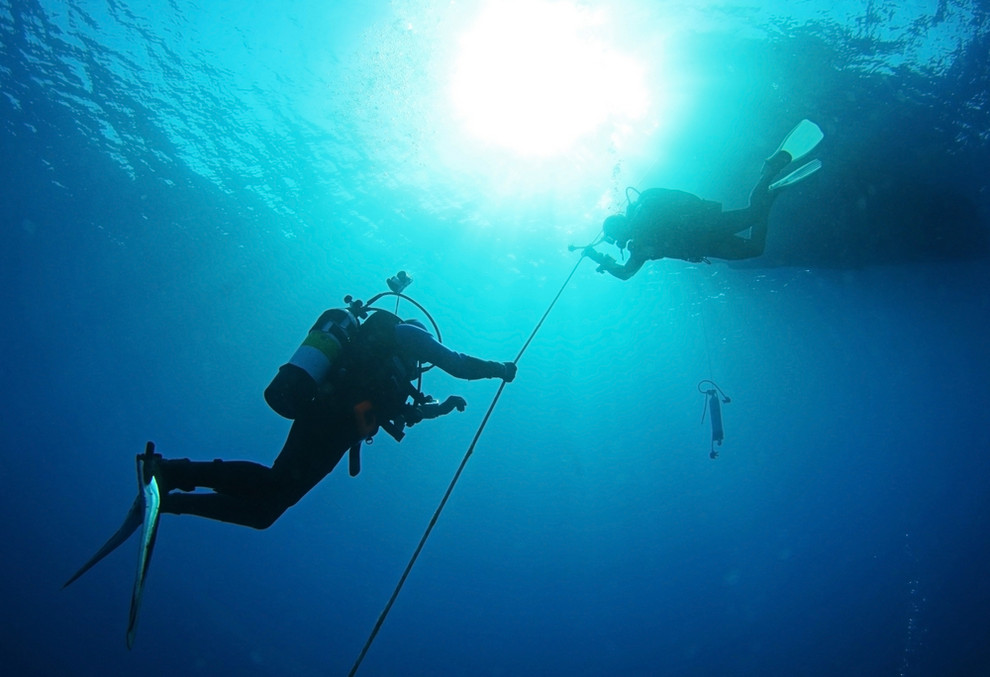
3. Maintain Communication: Never lose eye contact with your buddy throughout the entire ascent, and be ready to signal any problems that may arise.
6. Make a Safety Stop
Even on an emergency ascent, make a safety stop at about 15 feet for 3 minutes. This allows nitrogen to off-gas from your body and reduce the risk of decompression sickness.
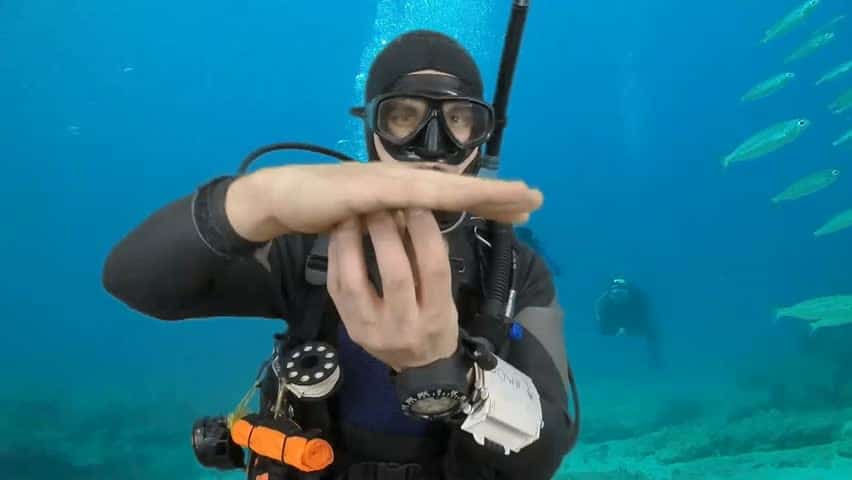
During the Safety Stop:
- Breathe from the octopus.
- Stay near your buddy and hold onto them if need be.
- Monitor your time and depth on your dive computer.
7. Surface and Signal for Assistance
Once you have reached the surface, continue breathing from the alternate air source until you’re safely out of the water. Signal for assistance if necessary.
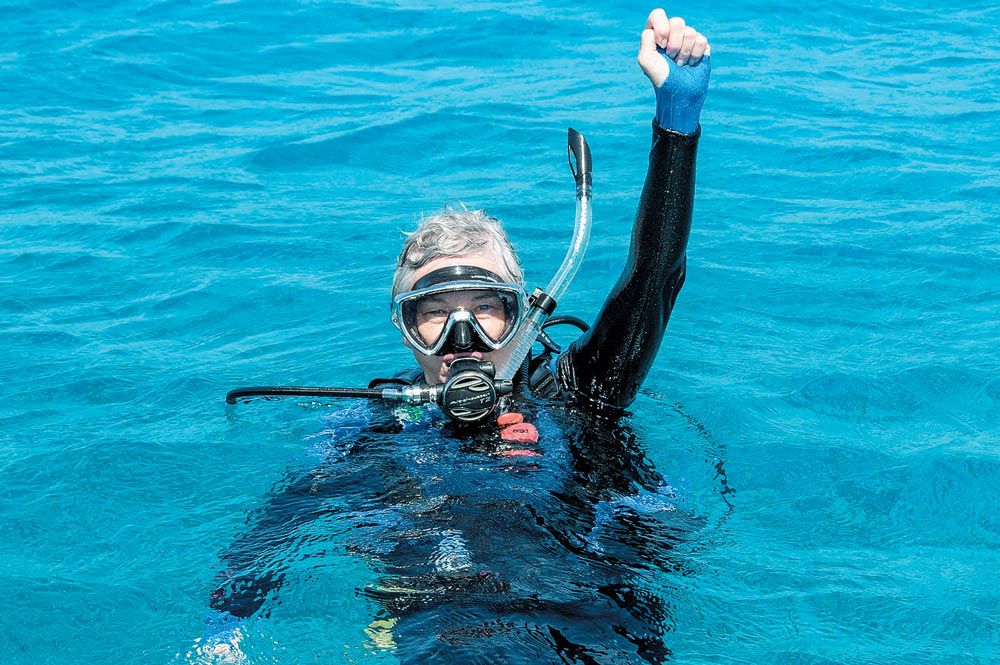
Surface Protocol:
- Inflate your BCD full to make sure you are still afloat.
- Signal the dive boat or the shore team by waving with your arm, and/or using an audible signal device such as a whistle.
- If safe to do so, switch back to your primary regulator if you have enough air in your cylinder or continue breathing from the octopus while remaining calm and easily ascend to the surface until you are safely aboard the dive boat or on shore.
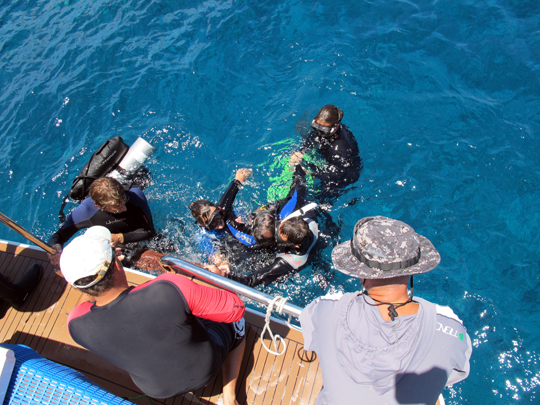
Practicing the Out-of-Air Drill
Regular practice with your dive buddy in out-of-air drills is very important in developing muscle memory so that you act correctly during an actual emergency. Here are some tips for practicing effectively:
- Simulate Realistic Conditions: Do this in a pool or calm water and then gradually build up the realism of the situation with the addition of current, low visibility, or different depths.
- Switch Roles: Both you and your buddy should practice being an out-of–air diver and the rescuer so that you are prepared for whichever role you may be called upon to fulfill.
- Debrief After Each Drill: Brief on what went well and what could have been done better. Emphasize communication, the speed of reaction, and the quality of ascent.
An out-of-air drill is a basic, though most essential skill to be learned by all divers. Equipped with this one practice, you will be able to confidently and calmly face one of the most critical underwater emergencies. First, master the steps for clear communication, securing the alternate air source, ascent control, and practice—so you and your dive buddy are prepared to safely manage an out-of-air situation. Recall, the key to dives gone well is preparation, practice, and keeping your head cool under pressure. Happy and safe diving!