While scuba diving is a very exciting, thrilling, and somewhat adventurous sport, it does involve certain dangers. In regard to diving, one of the most vital skills any diver should know is how to execute a safe emergency ascent. Due to either faulty equipment, low air supply, or a medical crisis, situations can arise where returning to the surface immediately becomes paramount. Training in emergency ascent is meant to prepare divers for such situations remain calm and act accordingly. We will discuss here various techniques and best practices to make an emergency ascent safely.
Why Emergency Ascent Training Matters
In diving, it is paramount that one ascends to the surface slowly and while in control so as not to develop conditions such as decompression sickness or the bends, barotrauma, or nitrogen narcosis. An emergency will make a diver go to the surface of the water fast, and without training, a fast ascent will enhance the risks.
Emergency ascent training would enable the diver to learn how to:
- Control the rapid ascent
- Avoid injury by using some specific ascent procedures.
- Avoid panic in emergency situations.
- Proficiency with the use of equipment during an emergency situation plays an important role.
Key Techniques for a Safe Emergency Ascent
1. Controlled Emergency Swimming Ascent (CESA)
The Controlled Emergency Swimming Ascent, popularly known as CESA, is among the most critical techniques to learn in emergency ascent training. This technique is practiced in a situation where the diver has insufficient air to make an ordinary ascent to the surface by swimming and not using his or her regulator to breathe. The keyword here is *control*: making the ascent slow and not hurried.
How to perform a CESA:
1. Exhale continuously: During ascent, exhale a thin, continuous stream of air. This prevents your lungs from over-expanding as the air inside them expands with the lowered pressure.
2. Keep your regulator in your mouth: Even when you run out of air, keep your regulator in your mouth to inhale whatever little air may be left inside or to switch to an alternate air source.
3. Kick up, slowly: Kick with the legs in a smooth manner to the surface without hurrying.
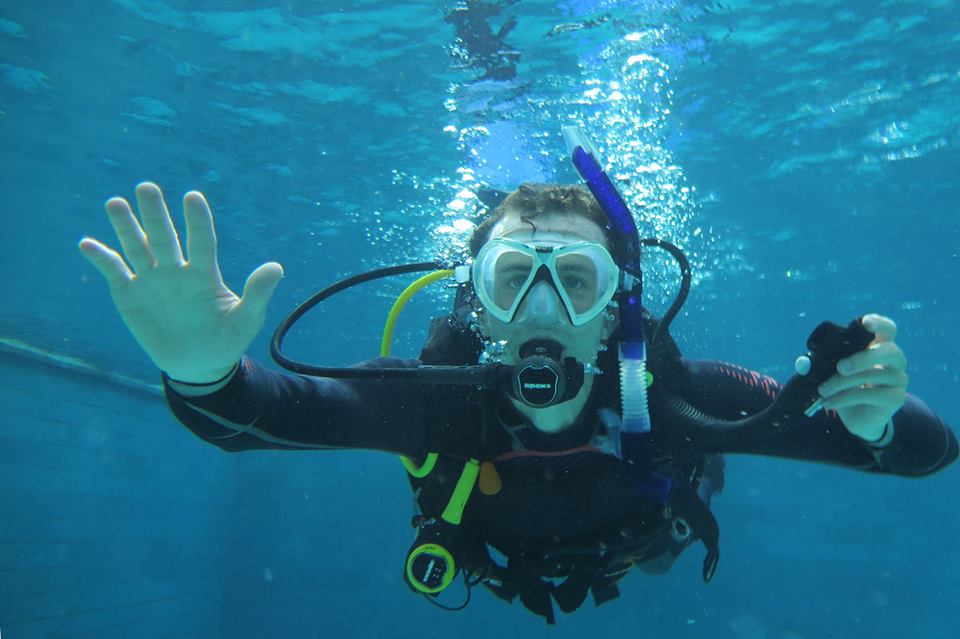
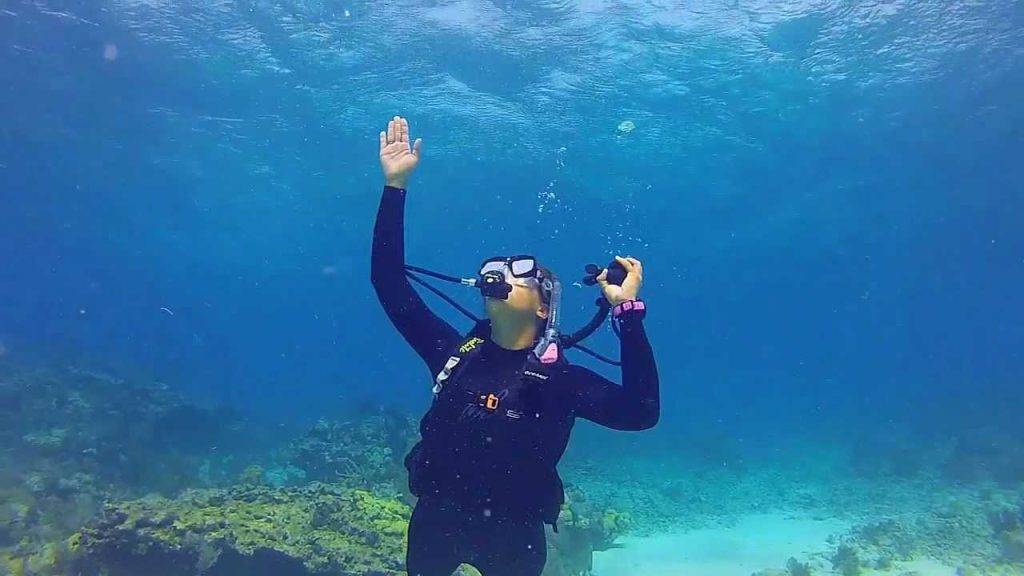
4. Look upwards and raise one arm out of the water: Extend one arm overhead to protect your face from obstacles and to be prepared for a quick stop, if an emergency, upon reaching the surface.
Practice tip: CESA should be practiced under supervision in a controlled environment to develop muscle memory and confidence in this vital skill.
2. Buoyant Ascent

It is an ascent that is buoyant in nature, which may be required in the case of a diver unable to swim to the surface either due to exhaustion or other form of injury. This may involve allowing the inflation of the BCD so he can shoot upwards to the surface pretty fast. Though not as controlled as CESA, it may prove to be lifesaving at times.
Buoyant Ascent:
1. Drop your weight belt or inflate your BCD: Discarding weights or inflating your BCD makes you shoot upwards. You do not want to blow upwards out of control, though; the inflation should be gradual.
2. Exhale continuously: Just like in CESA, it is important not to forget to exhale in order not to get lung over-expansion injuries due to decreasing pressure.
3. Monitor your ascent speed: Consult your dive computer or ascent bubbles to help guide you along at an acceptable rate. Fast ascents increase the risk of decompression illness.
Practice tip: Performing a buoyant ascent simulation in shallow water while being observed helps the divers relax with the feeling of the rapid ascent and builds buoyancy skills.
3. Buddy Breathing and Alternate Air Source Ascents

An emergency ascent doesn’t have to be solo. If you dive with a buddy and one of you runs out of air, there is a safe way to ascend together using buddy breathing or your buddy’s alternate air source.
How to perform an alternate air source ascent:
1. Signal your buddy: Give the hand signal for out of air or share air. Stay relaxed and swim toward your buddy for assistance.
2. Use the alternate air source: Take your buddy’s octopus (alternate air regulator) or initiate buddy breathing, a technique where both divers breathe off of one air supply and take turns.
3. Make a shared ascent: Initiate physical contact – by generally holding onto your buddy’s BCD or arms – and begin a slow, gradual ascent while monitoring air supply, depth and dive computer.
Practice tip: Keep consistently practicing the air-sharing drills with your dive buddy to the extent that both divers are comfortable, ready, and capable of helping each other make an emergency ascent.
4. Free Ascent Using a Line
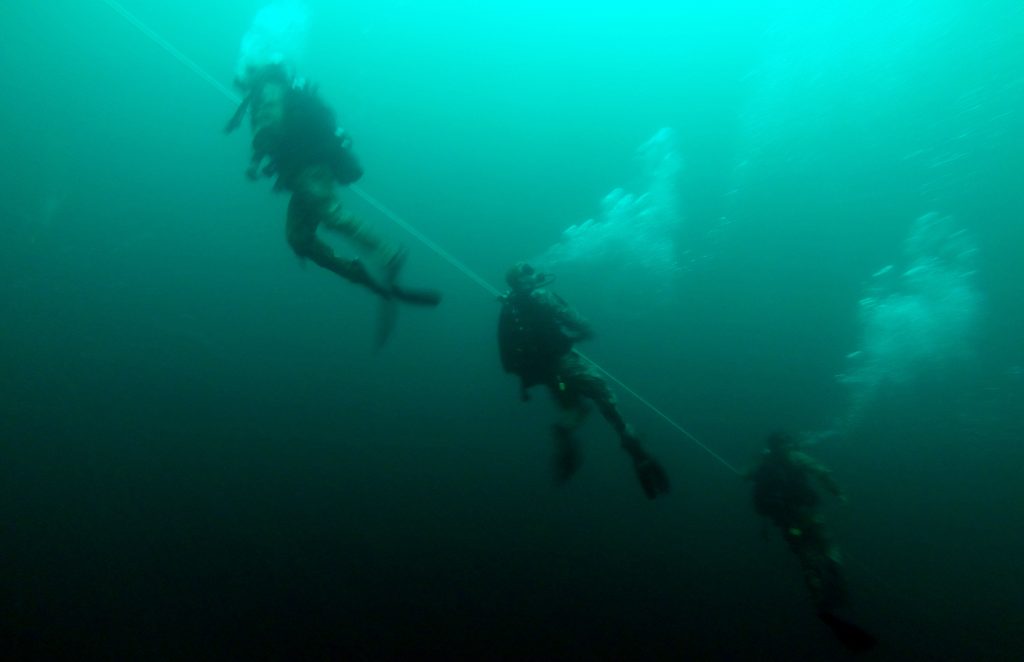
Free descents along a line can be comforting in situations of diving near a wreck, reef, or on a descent/ascent line. The diver can ascend by pulling him- or herself up the line diver will feel more in control and be assured of a slow, safe ascent to the surface.
How to execute a free ascent:
1. Hold the ascent line lightly: A hand on the line guides you to maintain ascent speed and orientation.
2. Monitor your ascent rate: Either by dive computer or following bubbles to maintain a non-exceeding ascent speed.
3. Pause as necessary: If you feel you are rising too quickly, grip the line a little harder to pause and maintain a slower pace.
Practice tip: The use of a line in a pool and open water can allow divers to practice ascent buoyancy while relying on external supports.
Dos and Don’ts of Safe Emergency Ascents
1. Stay calm: Panic is the biggest enemy during emergency ascents. Slow, deep breaths-even in challenging situations to reduce anxiety and promote clear thinking.
2. Know thy equipment: Knowledge of diving equipment, such as BCD, regulator, and weight system, is very handy when it comes to taking any decisive action when necessary.
3. Monitor your ascent rate: The majority of dive computers are pre-programmed to warn in case of too-fast ascents. Heed their warnings and adjust your speed as needed. By rule of thumb, an upward movement of about 30 feet per minute is recommended.
4. Conduct emergency drills regularly: Like any lifesaving technique, practice will make perfect. The more regular the training, the more these skills will be reinforced in your head for when the time shall arrive.
5. Make safety stops if time allows: If time permits, and the dive conditions allow for it, make a safety stop at about 15-20 feet (5-6 meters) for 3-5 minutes before completing your ascent. This allows nitrogen to safely off-gas from the body, minimizing chances of decompression sickness.
Emergency ascent training provides a very strong foundation for dive safety, and the skill of techniques such as CESA, buoyant ascent, and buddy breathing may provide the answer in times of an emergency. Such techniques allow divers, when well rehearsed, to have greater confidence, remain composed in case of an emergency, and make safe ascents to the surface with minimal risks for a safer dive. Whether one is a newly certified or seasoned diver, incorporating emergency ascent drills into one’s training routine will provide greater preparedness for the unexpected and maintain underwater adventures as one of the most enjoyable. Happy and safe diving!